
Skimming is a finishing process for walls and ceilings where the existing background is suitable to keep but the surface needs renewing. The important part is not simply applying new plaster: the background has to be sound, compatible and properly prepared first.
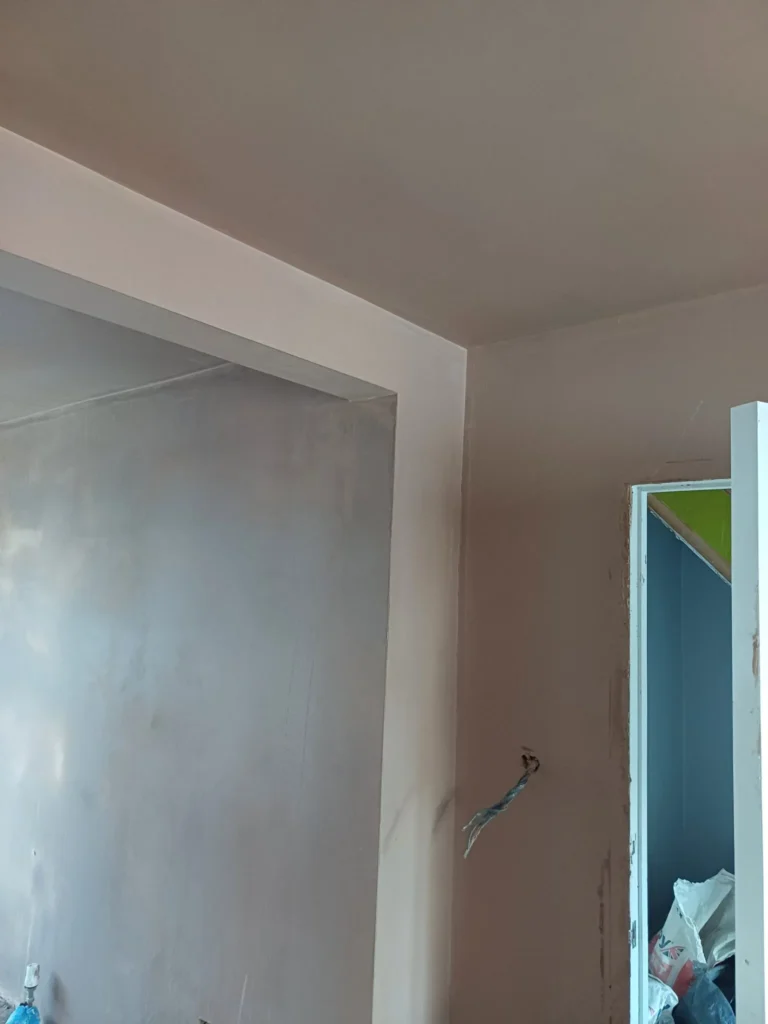
When is skimming the right choice?
A skim is often suitable when existing plaster or plasterboard is stable and the main problem is the surface finish: tired walls, minor imperfections, previous decoration, repaired areas or a room being prepared for a new decorative finish.
It is not a substitute for fixing a failed background. Loose or hollow plaster, substantial movement, persistent moisture damage and walls that need significant straightening can require repairs, an undercoat system or wider replastering first. If you are unsure, use our skim or replaster decision guide.
Wall and ceiling skimming
Wall skimming
Suitable existing walls can be refinished to provide a smoother surface for subsequent decoration. We assess old repairs, cracks, coatings, edges and reveals before agreeing the preparation.
Ceiling skimming
Ceilings need the same attention to background condition, but overhead working, existing texture, cracking, height and access can change the preparation and quotation. For ceiling-specific work, see ceiling plastering in London.
Repairs before skimming
Small defective areas can sometimes be repaired before the wider surface is skimmed. Larger areas of loose or failed plaster need a different plan. See our plaster repair service.
Preparation matters more than simply adding another coat
Before skimming, the surface should be checked for loose material, adhesion, cracks, contamination, suction and incompatible coatings. Preparation depends on the actual background; there is no single primer or bonding method that is correct for every wall.
For example, British Gypsum specifies Thistle MultiFinish as a 2 mm finishing plaster on compatible backgrounds, while its system guidance uses different pre-treatments depending on the substrate and suction. That is why we avoid promising a universal “PVA and skim” recipe for every property.
What happens on a typical skimming job?
- Assess the surfaces. Identify sound areas, cracks, loose material, old repairs, coatings and anything that needs attention first.
- Protect the working area. Agree access and protect floors and retained fittings as appropriate to the job.
- Prepare the background. Remove unstable material, complete agreed repairs and use the preparation specified for the substrate.
- Apply the finishing plaster. The finish is applied and worked within the requirements of the chosen plaster system.
- Allow it to dry before decoration. Drying depends on the surface, thickness, room conditions and ventilation rather than a guaranteed number of days.
What a skim can — and cannot — fix
A good skim can renew a suitable surface and leave it ready for decoration, but a thin finish follows much of the existing wall plane. It should not be sold as a way to make a badly distorted wall perfectly straight, stabilise loose plaster or cure damp.
Recurring cracks also deserve assessment rather than simply being hidden. Where moisture is involved, establish and address the cause before relying on a new decorative plaster finish.
How much does skimming cost in London?
Price depends on the amount of preparation, wall or ceiling area, height and access, openings and reveals, repairs, protection and the size of the job. Our current budgeting guide uses £10–£25 per m² for wall skimming as an indicative range, not a fixed quotation.
For the assumptions behind that figure and what should be included, see our London skimming cost guide. For broader plastering rates, use the 2026 London plastering price guide.
After skimming: drying and painting
Fresh plaster needs to dry sufficiently before decoration. Do not rely on a fixed two- or three-day rule: temperature, ventilation, thickness and local moisture conditions all affect drying. A uniformly dry appearance across the whole surface is more useful than judging one easy-to-see patch.
Before decorating, read our painting new plaster guide, including what to look for before applying the first coat.
What should your skimming quotation include?
A useful quote should identify the exact walls and ceilings included and make the preparation clear. Ask whether repairs, beads, window reveals, difficult edges, protection, access and clearing up are included rather than comparing only a headline square-metre rate.
When requesting a quotation, send your postcode, wide photographs of each room or surface and close-ups of cracks, damage or previous repairs. Approximate dimensions are useful too.
Skimming FAQs
Can you skim over old plaster?
Often, if the existing plaster is firmly attached and the background can be prepared for the chosen finishing system. Loose, hollow, contaminated or moisture-affected areas need assessment first.
Can skimming make an uneven wall straight?
Only to a limited extent. A thin finishing coat mainly improves the surface and follows much of the existing plane. A badly uneven wall may need backing work or another preparation method.
Can cracks simply be skimmed over?
Not automatically. The crack and surrounding background should be assessed first. Preparation or repair may be needed, and recurring movement should not simply be concealed.
How long should skimmed plaster dry before painting?
There is no reliable fixed number of days for every room. Drying varies with thickness, ventilation, temperature and moisture conditions. Wait until the plaster is adequately and evenly dry and follow the paint manufacturer's instructions.
Do you skim both walls and ceilings?
Yes, where the backgrounds are suitable. Your quotation should state clearly whether it includes walls, ceilings or both.
Plan the next step
Get a quote for wall or ceiling skimming
Send your postcode, wide photographs, close-ups of any damage and approximate dimensions. We can discuss whether skimming is suitable and what preparation should be included.
Send a WhatsApp enquiry