
First, check what is already on the wall
Before choosing a finish, we look at the existing surface. Is the plaster sound? Are there loose patches, cracks, uneven areas or signs of moisture? Covering a problem with a thin coat may make it look better for a short while, but it does not deal with the cause. Preparation and the right materials depend on what is actually there.
Skimming: a fresh finish on a suitable background
Skimming is a thin finishing coat used to give prepared walls and ceilings a smooth surface for decorating. It can be appropriate over sound existing plaster or properly prepared plasterboard. It is not intended to straighten a badly uneven wall or hold loose material together.
We pay particular attention to edges, corners and joins, as these are often the areas you notice once the room has been painted. See our wall and ceiling skimming service and the Greenford project for a real example of finished interior surfaces.

Base coats: getting uneven surfaces ready
Where the background needs building out or levelling, a suitable base coat may be required before the final finish. The choice of material depends on the substrate and whether the work is indoors or outdoors. A sand-and-cement base coat is one method used on appropriate masonry backgrounds; it is not a universal answer for every wall.
Preparation, thickness and curing matter. Rushing straight to a decorative finish before the underlying coat is ready can cause problems later.
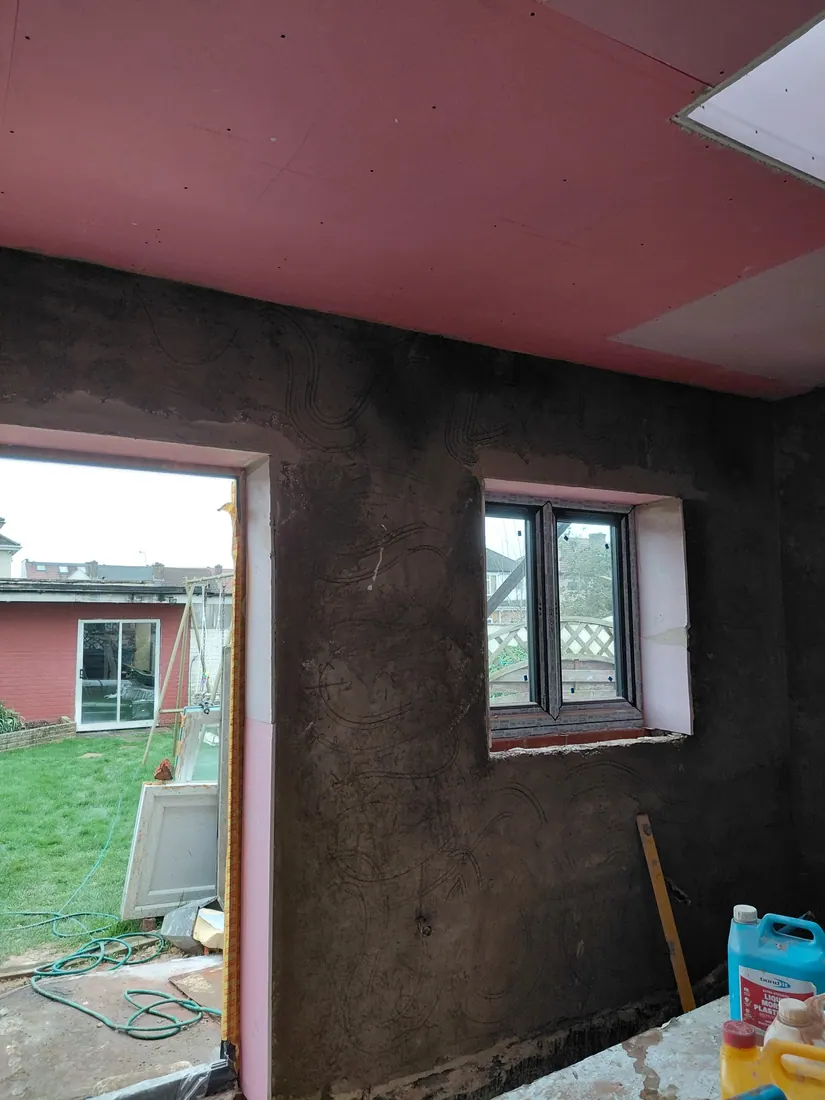
Plasterboard, joints and corners
New partitions and ceilings often start with plasterboard. The boards must be properly fixed, with joints and vulnerable corners prepared for the chosen finishing system. Joint reinforcement helps manage movement at board joints; the correct detail depends on the installation.
Our plasterboarding page explains the service in more detail.
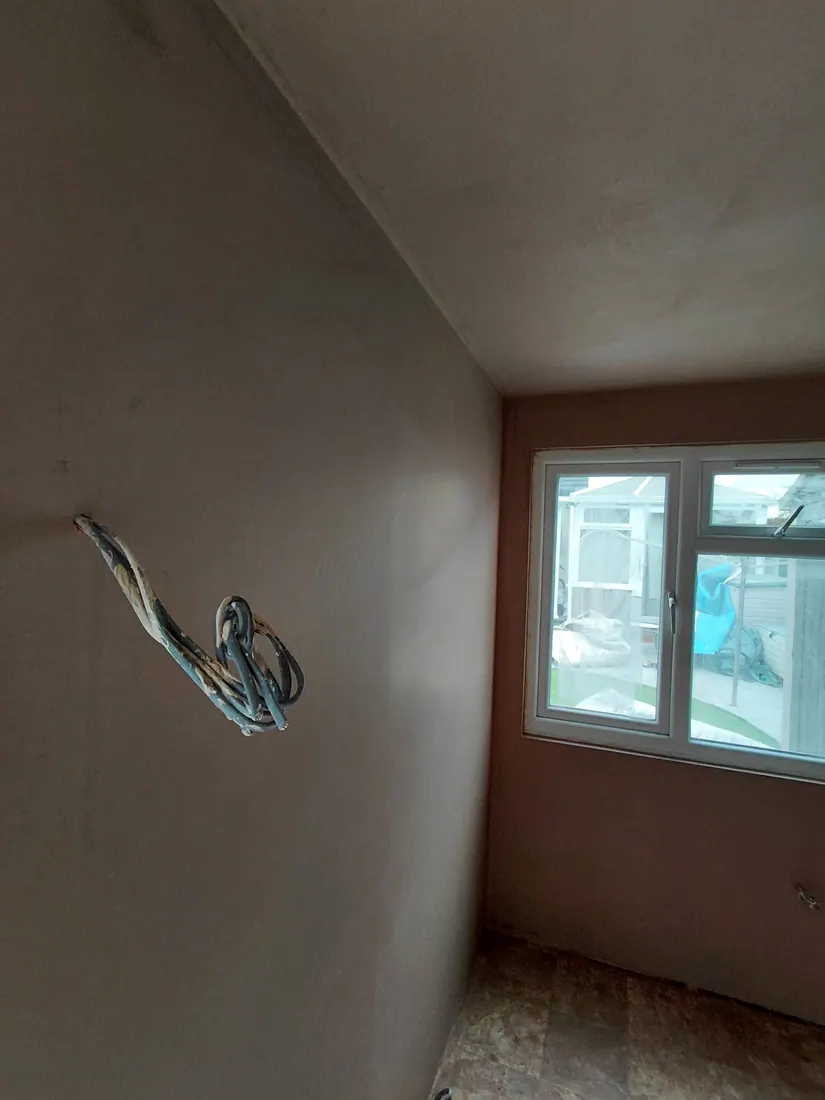
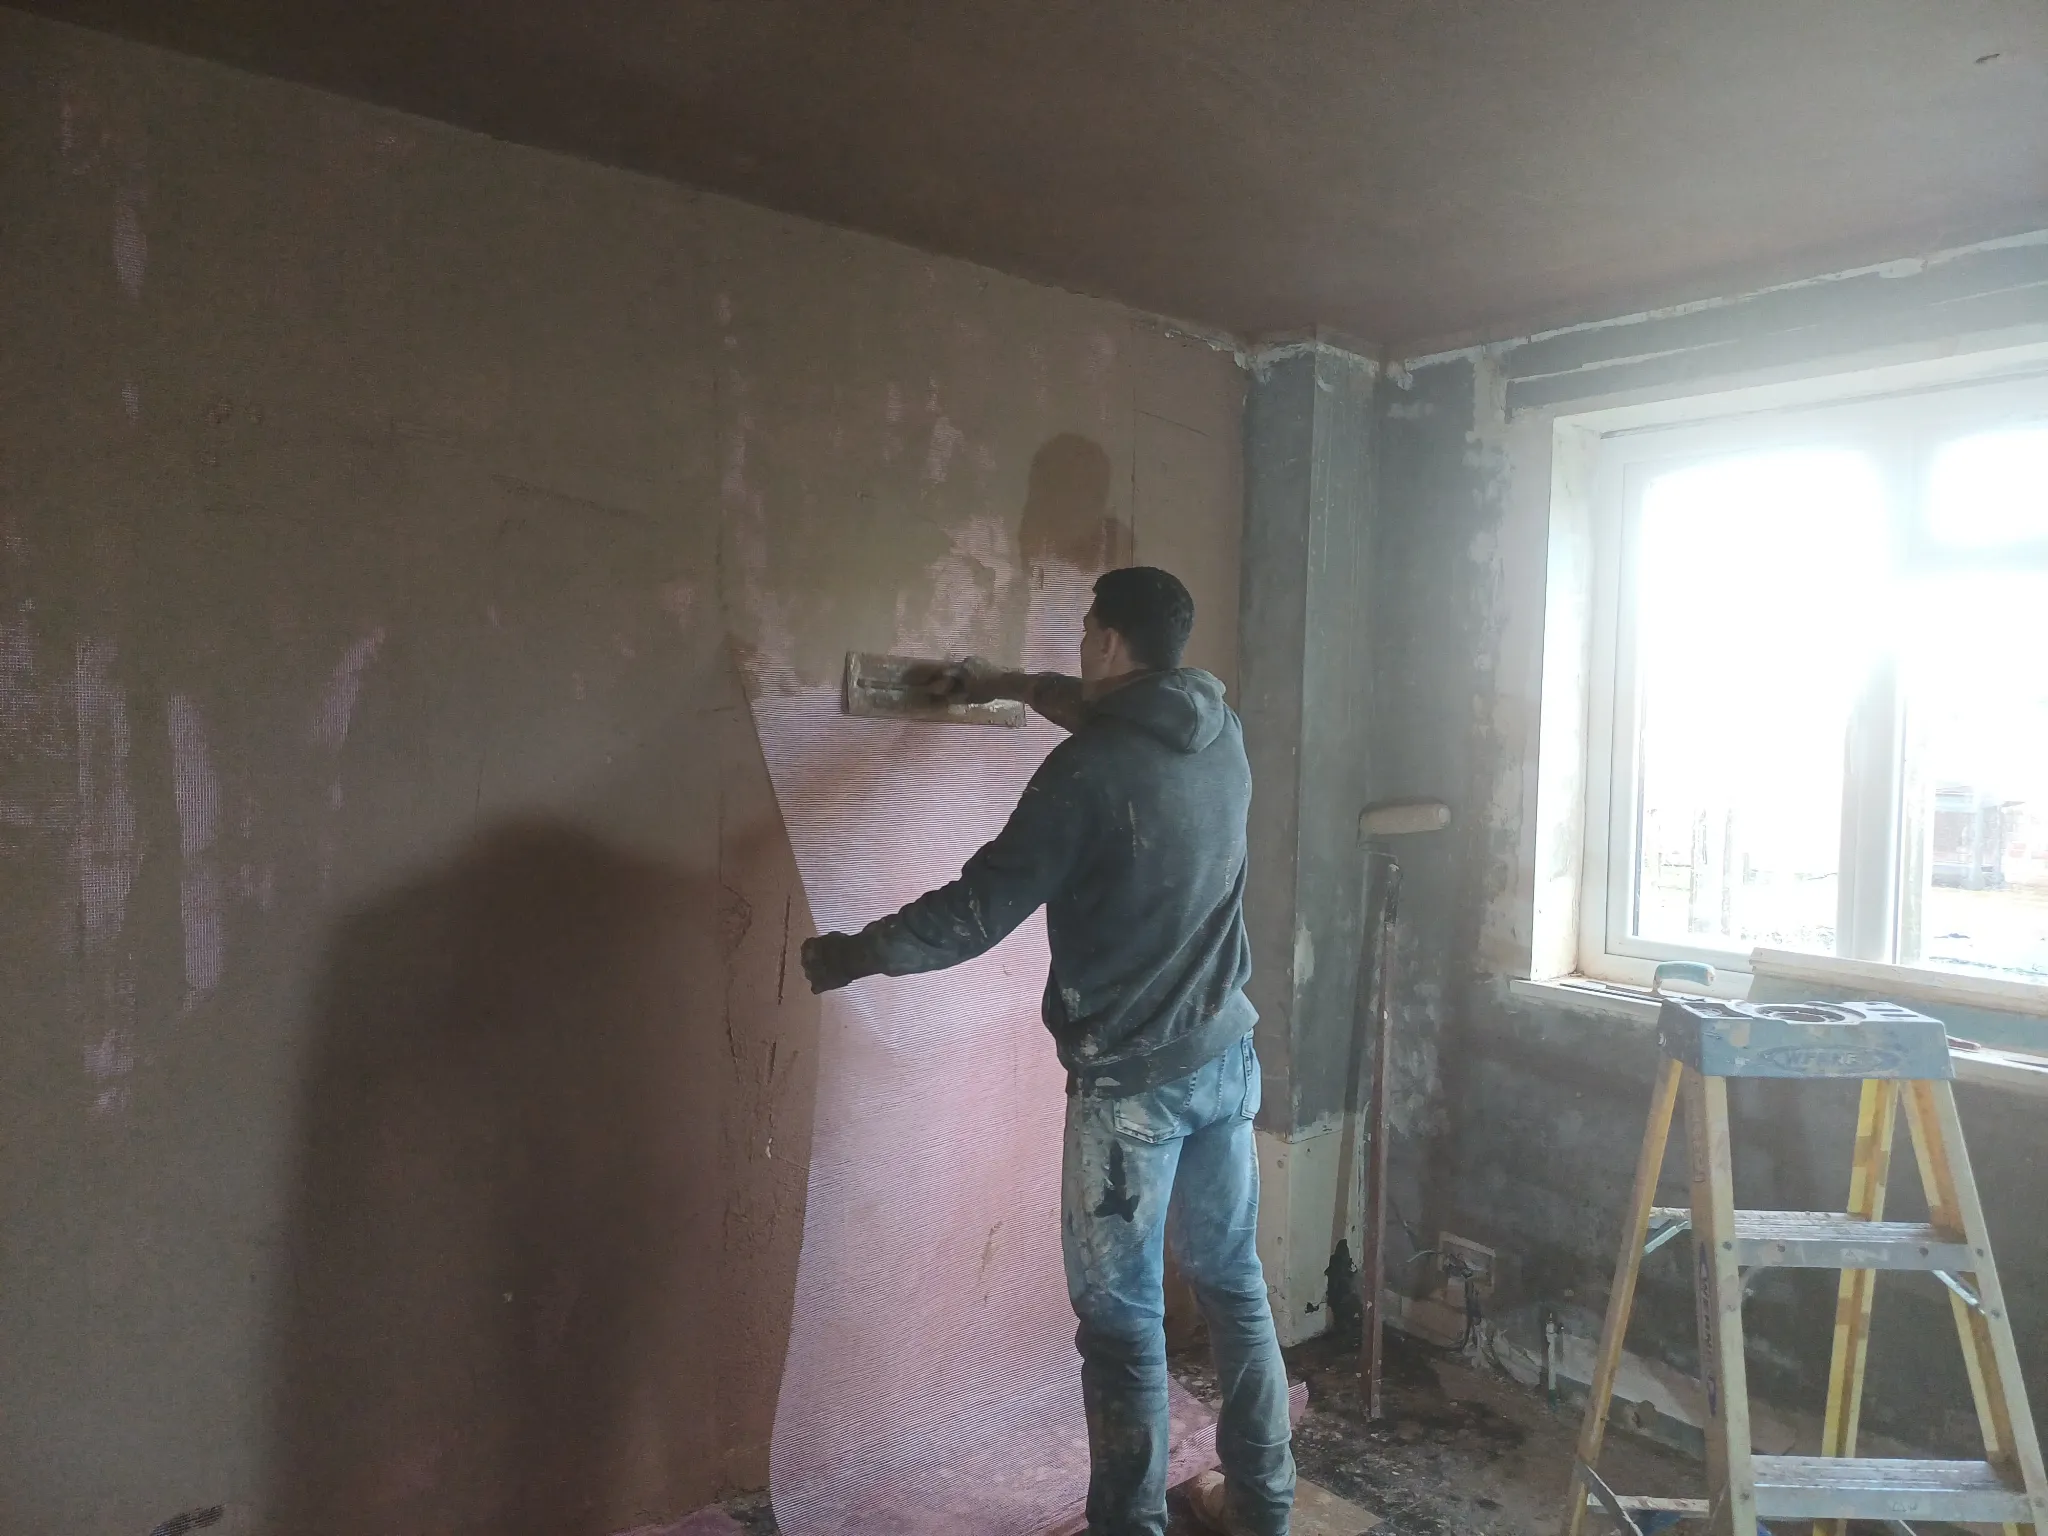
Mesh reinforcement and crack preparation
Some repairs benefit from reinforcement as part of the preparation. For example, mesh may be specified around a repaired area or across an appropriate background before plastering. It helps reinforce the treatment, but it cannot fix continuing structural movement or a moisture problem. Recurring cracks need their cause checked first.
Our Barons Court case study includes a genuine photograph of mesh reinforcement during preparation.
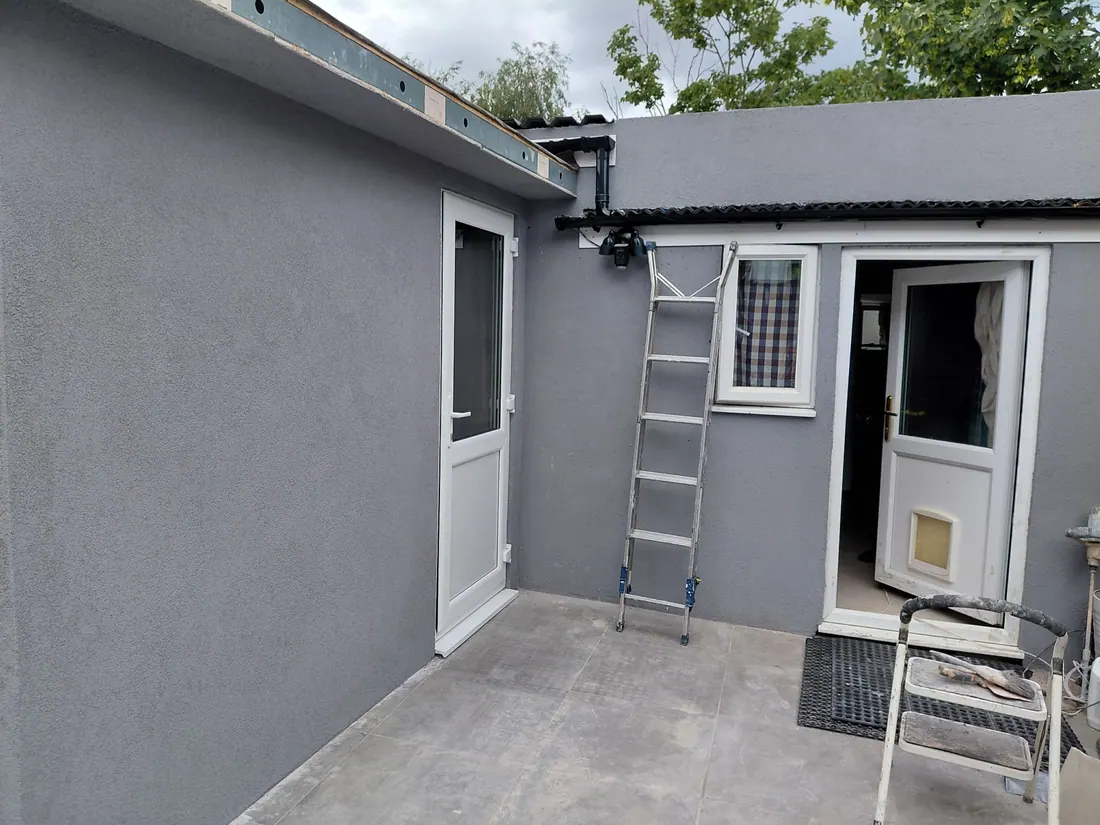
Exterior rendering and K Rend finishes
Outside, the background, exposure and specified render system determine the method. Traditional sand-and-cement rendering and proprietary silicone render systems have different preparation and application requirements. A textured finish can look good, but the layers behind it need to be suitable for the wall and the chosen system.
See our rendering services and K Rend page for the exterior work we undertake.
What happens after plastering?
Fresh plaster needs time to dry before decorating. The timing depends on the background, thickness and conditions in the property. Don't judge readiness only by the calendar: follow the relevant material and paint manufacturer's instructions. Our painting new plaster guide covers the next stage.
Unsure which technique your wall needs?
Send us your postcode, a photograph showing the whole wall or room, and close-ups of any damaged areas. Tell us whether you're working on walls, ceilings or exterior surfaces. We can discuss the likely scope and what needs checking before quoting.